
Choosing an Operation Theatre Surgical Light in 2026 is not simply a matter of selecting the brightest lamp. Surgeons need a stable, shadow-controlled field while working around moving heads, instruments, and sterile drapes. A light may look impressive in a showroom, yet perform poorly over a deep abdominal cavity. That gap deserves attention.
Lighting researcher Peter Boyce states, “Good lighting is lighting that allows people to see what they need to see without having to work at it.” This principle remains practical in modern operating rooms. Buyers should examine illumination depth, shadow dilution, color rendering, color temperature, beam adjustment, and glare control. High color rendering helps distinguish tissue tones. Low radiant heat protects the surgical team during long procedures. Smooth handles and sealed surfaces also support efficient cleaning routines.
Specifications are only part of the decision. Ask surgeons and nurses to test the Operation Theatre Surgical Light under realistic conditions. Move the light above the table. Place hands, instruments, and drapes beneath it. Watch how quickly shadows return after repositioning. Check whether controls can be operated without breaking concentration. Review LED module life, emergency backup, maintenance access, and service support. No model is perfect. Even experienced teams can overvalue brightness and overlook eye fatigue. The best choice balances optical performance, ergonomic confidence, infection-control needs, and long-term reliability. A careful evaluation may feel slower, but a hurried purchase can create costly compromises every day.
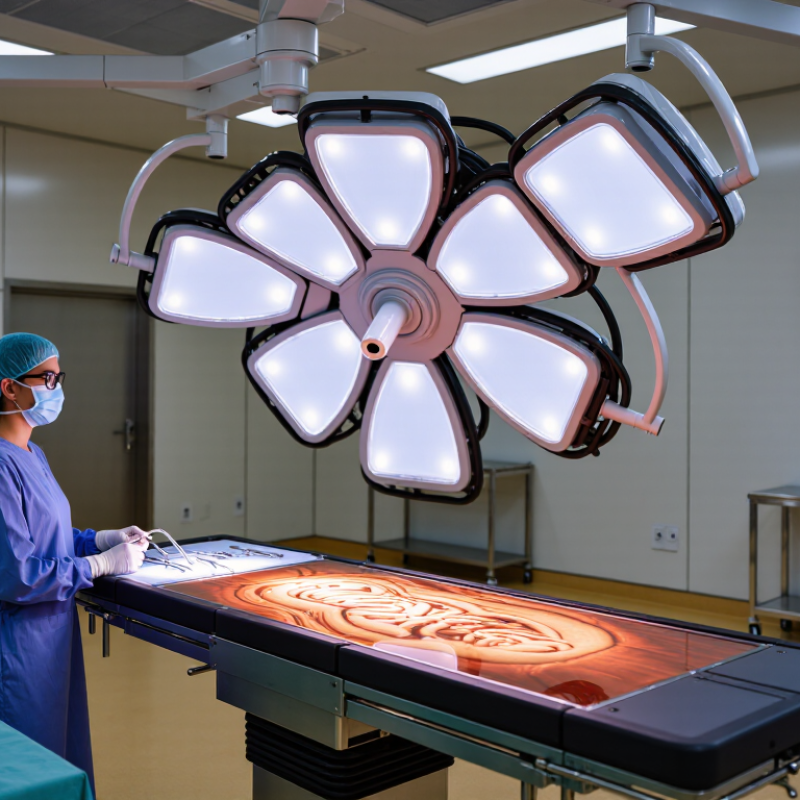
Choosing an operating-theatre surgical light starts with the clinical field, not the fixture’s appearance. IEC 60601-2-41:2021 sets performance requirements for surgical luminaires, including 40,000–160,000 lux of central illuminance. This range is practical, not decorative. Minor procedures may operate near 40,000 lux. Deep cavities often require higher output. Maximum brightness alone cannot prevent shadows.
The Lancet Commission on Global Surgery estimated 312.9 million surgical procedures worldwide in 2012. That volume makes consistent illumination a safety concern. During assessment, measure the working distance, cavity depth, tissue contrast, and shadowing from hands or instruments. A light rated at 160,000 lux may still perform poorly if its beam narrows too quickly. Ask suppliers for test conditions, not only headline figures.
In practice, some teams choose the highest lux value because it feels reassuring. That is an incomplete decision. Excessive intensity may create glare, discomfort, or harsh reflections from wet surfaces. I have also seen measurements taken in an empty room, where performance looked excellent. Real surgery is different. Drapes move, staff lean over the field, and the light must recover quickly. A 2024 perioperative equipment survey highlighted adjustability and shadow management as frequent purchasing priorities. Lux remains the starting point, but operating conditions decide whether that number is useful.
| Selection Dimension | Recommended Target or Range | Why It Matters in the Operating Theatre | Practical Evaluation Method |
|---|---|---|---|
| Central Illuminance | 40,000–160,000 lux | Select a system that can provide sufficient illumination for the intended procedures while supporting adjustment for different tissue depths and surgical tasks. | Review the measured illuminance at the specified working distance and confirm that the product documentation addresses IEC 60601-2-41 requirements. |
| Illuminance Adjustment | Continuous or multi-level dimming | Lower settings can reduce glare during preparation, superficial procedures, or endoscopic support; higher settings support deep and demanding procedures. | Check whether controls are available from the sterile handle, wall panel, or non-contact interface. |
| Colour Temperature | Approximately 3,500–5,000 K | A selectable neutral-to-cool white range helps clinicians balance tissue colour recognition, visual comfort, and compatibility with cameras. | Confirm the available settings and whether colour temperature remains stable when illuminance is adjusted. |
| Colour Rendering Index | Ra ≥ 90 preferred for major surgery | High colour rendering helps staff distinguish subtle differences in tissue, blood, and anatomical structures. | Request photometric data for general colour rendering and review the individual R-values where available. |
| Red Colour Rendering | High R9 performance preferred | Strong red rendering can improve the visual differentiation of blood and perfused tissue, particularly in vascular and general surgical procedures. | Ask for an R9 value or spectral report rather than relying only on the general CRI value. |
| Light Field Diameter | Adjustable field; commonly about 150–300 mm | A controllable light field helps match the illuminated area to the incision and reduces unnecessary illumination outside the operative site. | Compare the field diameter at the stated working distance and at several intensity settings. |
| Working Distance | Commonly about 700–1,500 mm | The light should maintain useful illumination when the surgical team, microscope, camera, or other equipment changes the distance from the wound. | Test illumination at the manufacturer’s declared distance range, not only at the nominal test position. |
| Illumination Depth | Review L1 + L2 performance data | Good depth of illumination helps preserve useful light in deep cavities and when the beam is partially obstructed by hands or instruments. | Request the illumination-depth measurement method and compare results at the intended operating distance. |
| Shadow Management | Multi-emitter, multi-segment optical design | Multiple light sources from different angles can reduce shadows caused by the surgeon’s head, hands, instruments, or retractors. | Conduct a practical shadow test using hands and typical instruments at both shallow and deep positions. |
| Glare and Visual Comfort | Low-glare optics with smooth dimming | Controlled luminance and smooth transitions help reduce eye fatigue for surgeons, nurses, and observers during long procedures. | Assess the light from common staff viewing positions and check for visible hotspots or uncomfortable reflections. |
| Radiant Heat | Low infrared output; cool LED housing | Reduced heat near the surgical field improves staff comfort and helps limit unnecessary warming of exposed tissue and sterile drapes. | Review the declared radiant heat or thermal data and evaluate the fixture after extended operation. |
| Sterile Control | Sterilisable handle or sterile control interface | Controls should allow adjustment without compromising the sterile field or requiring non-sterile staff to interrupt the procedure. | Verify the sterilisation method, compatible accessories, replacement interval, and cleaning instructions. |
| Non-Contact Control | Optional gesture, sensor, or foot control | Hands-free adjustment can reduce touch points and help maintain workflow when the surgical team is fully gowned and gloved. | Test responsiveness with gloves, masks, head coverings, and typical ambient lighting conditions. |
| Camera and Video Integration | Integrated or compatible HD/4K camera option | Video systems support teaching, documentation, remote consultation, and minimally invasive workflow requirements. | Check image quality, latency, field of view, white-balance control, cable routing, and compatibility with the operating-room display system. |
| Sterile Surface Design | Smooth, sealed, easy-to-clean housing | Few exposed joints and recessed components simplify disinfection and reduce areas where contamination can accumulate. | Review the cleaning agents permitted by the manufacturer and inspect seals, handles, joints, and control panels. |
| Mechanical Positioning | Wide movement range with stable balance | Easy positioning allows the team to centre the beam quickly while avoiding collisions with the surgeon, ceiling equipment, and anaesthesia system. | Operate the light through its full travel range and check drift, vibration, collision clearance, and one-hand repositioning. |
| Ceiling and Room Compatibility | Verify load, ceiling height, and structural support | The mounting structure must safely support the light system and accommodate other ceiling-mounted equipment in the room. | Confirm ceiling load capacity, mounting plate requirements, arm radius, installation height, and service access before purchase. |
| Power Supply and Backup | Compatible with facility supply and emergency power | Reliable power reduces the risk of interruption during surgery, especially when the operating room is connected to an essential electrical system. | Check rated voltage, frequency, maximum power input, restart behaviour, and compatibility with the facility’s emergency supply. |
| LED Service Life | Review rated life and lumen maintenance data | Long-life LED modules can reduce replacement frequency, but performance should be assessed by maintained output rather than life claims alone. | Request the rated LED life, lumen-maintenance criterion, module replacement process, and service availability. |
| Compliance Documentation | IEC 60601-2-41 and applicable local requirements | Documented compliance supports electrical safety, photometric performance, risk management, installation approval, and procurement review. | Obtain the declaration of conformity, test reports, user manual, risk information, and maintenance documentation before final approval. |
Planning note: Illuminance, colour temperature, colour rendering, field diameter, shadow performance, and working-distance data should be verified using the manufacturer’s stated test conditions and the applicable edition of IEC 60601-2-41, together with local healthcare-facility and electrical-safety requirements.