Choosing a digital dental xray sensor is a practical decision, not just a matter of comparing image specifications. The right fit depends on your procedures, operatory layout, software, and the people who will use it every day. A sensor that looks impressive on a product sheet may feel awkward during a long appointment. Small details matter.
For a busy practice, consider image clarity, sensor size, patient comfort, connection type, software compatibility, warranty, and access to technical support. A firm cable can catch near a chair; a bulky sensor may be harder to position for some patients. These factors deserve attention alongside image quality. This guide to the top 10 options is intended to help dentists compare products using clear, practice-focused criteria, rather than promotional claims alone.
The list should be treated as a starting point, not a universal ranking. Needs vary between practices, and published specifications cannot show exactly how a device feels in your hands. Before buying, check compatibility with your imaging system and ask about demonstrations, training, service, and replacement procedures. If possible, test positioning with the staff who will operate the sensor. That step is easy to overlook. A careful comparison can narrow the choices, but it cannot replace clinical judgment or the manufacturer’s instructions. Be willing to question a high score if its testing method is unclear. A little skepticism helps keep the decision grounded in daily care.
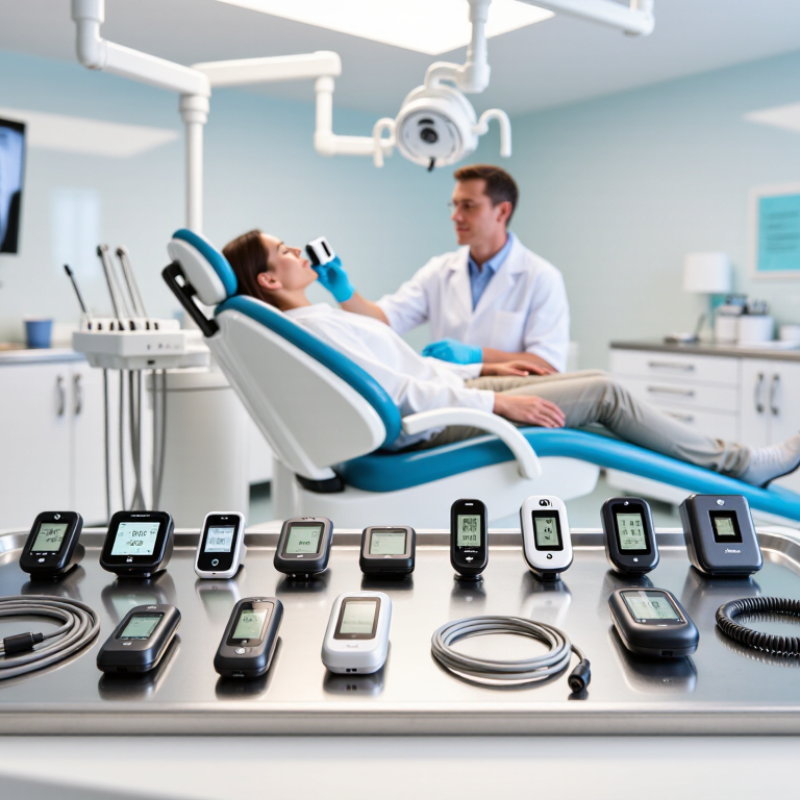
Digital dental X-ray sensors convert X-ray energy into images that clinicians can review on a computer. Their main value is practical: clear images can support assessments of tooth decay, bone levels, and root structures. WHO’s Global Oral Health Status Report (2022) estimates that oral diseases affected about 3.5 billion people worldwide in 2019. The scale makes timely assessment important, but an image is only one part of diagnosis.
Sensor choice affects image quality, patient comfort, and daily workflow. A rigid sensor may be difficult to position in a small mouth, while a cable can limit placement. Pixel size and image processing matter, yet neither can correct motion or poor positioning. Small details matter. Clinicians should consider the size options, protective barriers, software compatibility, and cleaning workflow before comparing resolution claims.
Digital imaging can make image review and sharing faster, but it does not automatically mean better care or lower exposure. The ADA and FDA’s dental radiography recommendations advise selecting X-rays based on clinical findings and individual patient needs. NCRP Report No. 177 also emphasizes radiation protection and optimized imaging in dental practice. A useful habit is to check positioning and exposure settings before each image. The fit is not always elegant, and extra retakes can happen; reviewing the image before the patient leaves can help catch avoidable problems.
Typical intraoral receptor dimensions by size category. Choosing the right size helps dentists match the image area to the patient and examination.
Dimensions are approximate representative formats in millimeters; actual active imaging areas vary by sensor design. Smaller receptors are commonly used for children, while larger formats can cover more anatomy in a single image.
When comparing digital dental X-ray sensors, look beyond advertised resolution. Check active area, pixel pitch, image contrast, and performance in low-dose settings. Small details matter. A sensor that fits adult molars may feel awkward with a child or a limited opening. Also confirm software compatibility, image export, cable durability, and the cleaning process. Ask to review images from routine cases, not only ideal demonstration images.
Dose figures need careful interpretation. The European Commission’s Radiation Protection 136 report places typical effective doses for intraoral radiography at roughly 1–8 μSv, depending on equipment and protocol. A sensor alone does not determine patient dose; exposure settings, positioning, and retakes matter. ADA and FDA recommendations advise selecting radiographs according to clinical findings rather than using routine schedules. One caveat: smaller pixels do not automatically mean more useful diagnoses. Motion, noise, and image processing can change what clinicians actually see. Compare diagnostic images in your own workflow, and check whether staff can position the sensor comfortably across different patients.
Top 10 Digital Dental X-Ray Sensors for Dentists
Choosing among the top 10 digital dental X-ray sensors means comparing more than image sharpness. Consider active area, pixel resolution, cable flexibility, software compatibility, warranty, and cleaning workflow. A sensor should capture clear details around the tooth roots without making patients struggle to hold still. The FDA’s dental radiography guidance reports that digital systems may reduce exposure by 50% to 80% compared with film. Actual dose depends on the equipment, settings, and technique. Lower exposure is valuable, but only when images remain diagnostically useful.
For a practical comparison, test sensors on both adult and smaller mouths. Check whether the cable reaches comfortably across the operatory, and whether the software displays images without delays. Ask about repair turnaround and replacement costs; these details matter when a sensor fails mid-clinic. A bright sample image can impress, but it cannot show how easily staff position the sensor during a busy appointment. No sensor wins every chairside situation. Comfort deserves a real trial.
Tips: Use positioning holders, select the appropriate exposure setting, and review image quality before repeating an exposure. Compare the same tooth region across shortlisted sensors, and involve the staff who will use them daily. A shortlist can look neat on paper; chairside experience may disagree.
| Rank | Sensor Configuration | Typical Clinical Use | Practical Advantages | Points to Check |
|---|---|---|---|---|
| 1 | Size 2 CMOS, wired | Routine adult periapical and bitewing imaging | A versatile receptor size for common intraoral examinations; CMOS is a widely used direct-digital sensor technology. | Check the active imaging area, cable length, software compatibility, and positioning comfort. |
| 2 | Size 1 CMOS, wired | Anterior periapical views and patients who find a larger receptor uncomfortable | The smaller receptor can be easier to position in a limited oral space. | Its smaller coverage may require careful positioning to include the full area of interest. |
| 3 | Size 0 CMOS, wired | Intraoral imaging for children and patients with small mouths | The compact format is designed for smaller oral anatomy. | Confirm that the receptor area is suitable for the intended examination and patient age. |
| 4 | Size 3 CMOS, wired | Long bitewing views where a broader horizontal image is useful | The elongated format can capture a wider bitewing region in one exposure. | Availability and exact dimensions vary; check positioning requirements and patient comfort. |
| 5 | Size 2 CCD, wired | Routine adult intraoral imaging in practices using CCD-compatible systems | CCD is an established digital imaging technology used in dental imaging systems. | Verify that the sensor, acquisition interface, and imaging software work together. |
| 6 | Size 1 CCD, wired | Anterior imaging or examinations requiring a smaller receptor | Combines a compact receptor format with CCD image acquisition. | Compare the usable image area and positioning aids with the needs of the practice. |
| 7 | Size 0 CCD, wired | Smaller patients and limited-space intraoral examinations | The small format may improve access for patients who cannot comfortably tolerate a larger receptor. | Ensure the smaller coverage is adequate for the required diagnostic view. |
| 8 | Size 3 CCD, wired | Long-format bitewing imaging | The elongated receptor format is intended to cover a broader bitewing region. | Check local availability, receptor dimensions, and compatibility with existing equipment. |
| 9 | Size 2 wireless intraoral sensor | Practices seeking to reduce cable management around the chair | A wireless connection can reduce the number of cables near the patient during image acquisition. | Check battery life, charging workflow, wireless connection reliability, and system compatibility. |
| 10 | Size 1 wireless intraoral sensor | Smaller-receptor imaging in a wireless workflow | Combines a compact receptor format with wireless image transfer. | Compare the device’s weight, battery requirements, active area, and positioning options. |
These are generic sensor configurations, not specific product or brand rankings. Sensor dimensions, active image area, resolution, dose requirements, and computer or software compatibility vary by manufacturer and model; consult the product specifications and applicable clinical guidance before purchase or use.
Choosing among the top 10 digital dental X-ray sensors starts with your patients and daily workflow, not pixel count alone. The ADA and FDA’s 2012 patient-selection recommendations suggest adult bitewing intervals of 6–18 months for patients with elevated caries risk, compared with 24–36 months for low-risk adults. Frequent imaging makes dependable positioning and consistent image quality especially important. Fit matters. Compare the sensor’s active area with your patients’ mouths, and check whether its thickness and cable allow comfortable placement without repeated retakes.
Review image quality alongside dose-control features. ADA recommendations note that rectangular collimation can reduce patient exposure by up to five times compared with round collimation. A compatible sensor should support your collimation setup and existing software, while producing images clinicians can interpret without excessive enhancement. Ask for sample images, warranty terms, cleaning instructions, and evidence of performance under routine clinical conditions. Small details count. A sensor that looks impressive on a specification sheet may still feel awkward during a posterior bitewing; staff feedback after hands-on testing is useful, though not always decisive. Keep a little room for doubt. No single resolution figure can predict comfort, durability, or diagnostic value in every practice.
Setting up a digital dental X-ray sensor starts with checking compatibility between the sensor, imaging software, and clinic computers. Confirm that drivers are installed and test image capture before seeing patients. A small practice run can reveal connection delays or incorrect exposure settings. Keep the sensor cable clear of chair wheels and cabinet edges. It is an easy detail to miss.
Build the sensor into the room’s existing workflow. Position the patient, select the correct tooth and view, then capture the image using the clinic’s approved exposure protocol. Review image quality before moving on; retakes can mean extra radiation exposure and wasted chair time. Staff should know how to place the sensor gently and use appropriate barriers without folding or sharply bending its cable. Follow the sensor manufacturer’s instructions and local radiation-safety procedures.
Ongoing maintenance is practical, not glamorous. Clean and disinfect the sensor between patients using products and methods approved for that device. Inspect the cable, connector, and sensor surface for cracks, looseness, or image artifacts. Record recurring faults and arrange qualified service when needed. Keep a spare positioning holder available. Workflow problems can persist even when the equipment appears fine; reviewing a few difficult cases with the team may reveal that positioning, rather than software, needs attention.